
Halloween is round the corner so today’s crafty Friday idea is a perfect game to leave out in the garden for your visiting 'Trick or Treaters' - or even to take with you to a Halloween party!
I found this very simple {and fun} tutorial on KidZui blog. It uses empty cans and the kids will be able to join in and also have lots of fun making it.

you will need:
§ 6 empty aluminium cans
§ Outdoor paint in a variety of colors
§ A paint primer – such as gesso (to help the paint stick to the can)
§ Spray sealant
§ Ball
§ Sticks
Instructions:
The cans should be washed and dried before applying the primer. Once the primer is dry you can begin painting. Kids of all ages will love to help with this.

You may need to apply about 3 coats of paint (or more if the paint appears thin). Important :: Allow the can to dry between coats.
While drying, start sketching the faces you want to make on the can – this is a great activity for older kids too.

{if you're stuck for creativity, here's a list of possible examples: witch, skeleton, ghost, pumpkin, Dracula, Frankenstein, bat, black cat, owl, monsters…or any other ghoul you can imagine!}
When the paint is fully dry, sketch the face using a lead pencil and then fill in with paint {you may need to apply 2 coats for the features}. When done, apply a sealant over the top and leave overnight to dry.
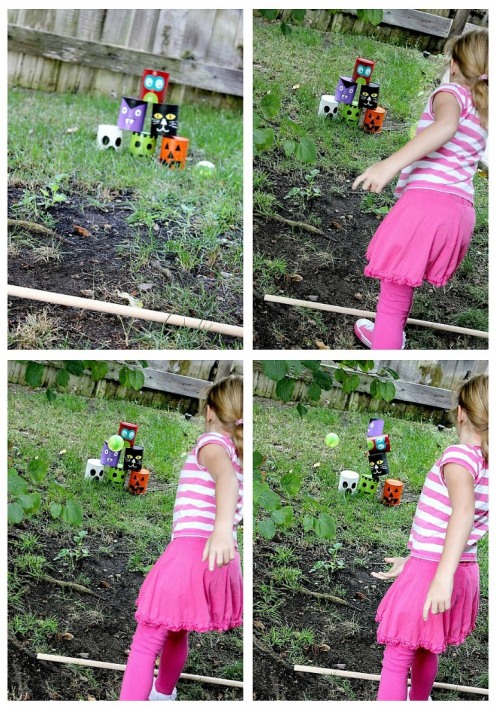
Here are a few ideas for playing this fun game:
- Set out a series of sticks. As the Kids knock over the cans at the closest stick, they have to move back to the next stick so they have further to throw.
- Challenge the older kids to knock just the top off that pile.
Images source here
0 comments:
Post a Comment
I really appreciate your thoughts and ideas - thanks for your support!